

A new outdoor sign can often feel like a big project, especially if it’s your first time making one. The best way to approach it is taking things step by step.
At National Neon Signs, we specialize in creating signs that help businesses stand out. Here’s what the process looks like, from your first idea to the day your sign goes up
How Do I Make an Outdoor Sign for My Business?
Every sign is different. No matter the material or type of sign you choose, most projects follow the same basic steps:
Step 1: Decide What Your Sign Needs to Do
Your sign has a purpose. It might help customers find your storefront from the street or direct visitors around a large property. It could also display promotions that change often. Knowing what your sign is for is a solid starting point.
Step 2: Choose the Type of Sign
The right type of sign comes down to your goal, your building and your location. These are some of the most popular options:
- Storefront signs such as illuminated channel letters and cabinet signs in front of your building
-
- Neon signs for a bold, classic glow
- Projecting blade signs for businesses on walkable streets
- Pylon signs and monument signs for drivers passing by
- Digital LED signs for messages you want to update
Step 3: Pick Your Materials and Lighting
Outdoor signs need to handle anything the weather throws at them. That includes rain, snow, wind, sun and changing temperatures, which is why materials matter. Aluminium, aluminum composite, acrylic, PVC and wood are the most common materials for outdoor signs. Each has its own strengths and weaknesses. The right choice depends on the type of sign and durability you’re after.
Lighting also makes a difference. If you need customers to see your sign after dark, you need to think about what will light it up and how.
Step 4: Check Local Rules
Every city and municipality is different. Most cities and municipalities have rules about how big a sign can be, where it can go, and how it can be lit. You might also need a permit. See what applies to your location before settling on a design to avoid disappointment later.
Step 5: Create the Design
Creating a custom design helps your brand come to life. Make your sign easy to read from a distance and ensure it looks like it belongs to your business. Here are some tips:
- Keep It Simple: Text should be clear and limited so it’s easy for everyone to read, especially drivers passing by.
- Use Strong Contrast: Try dark text on a light background or the other way around so colours don’t blend together.
- Match Your Brand: Use your logo, colours and fonts to help customers recognize you right away.
- Think About Size: Opt for a sign that will suit your building. It should be readable from where people will see it.
Step 6: Fabrication and Installation
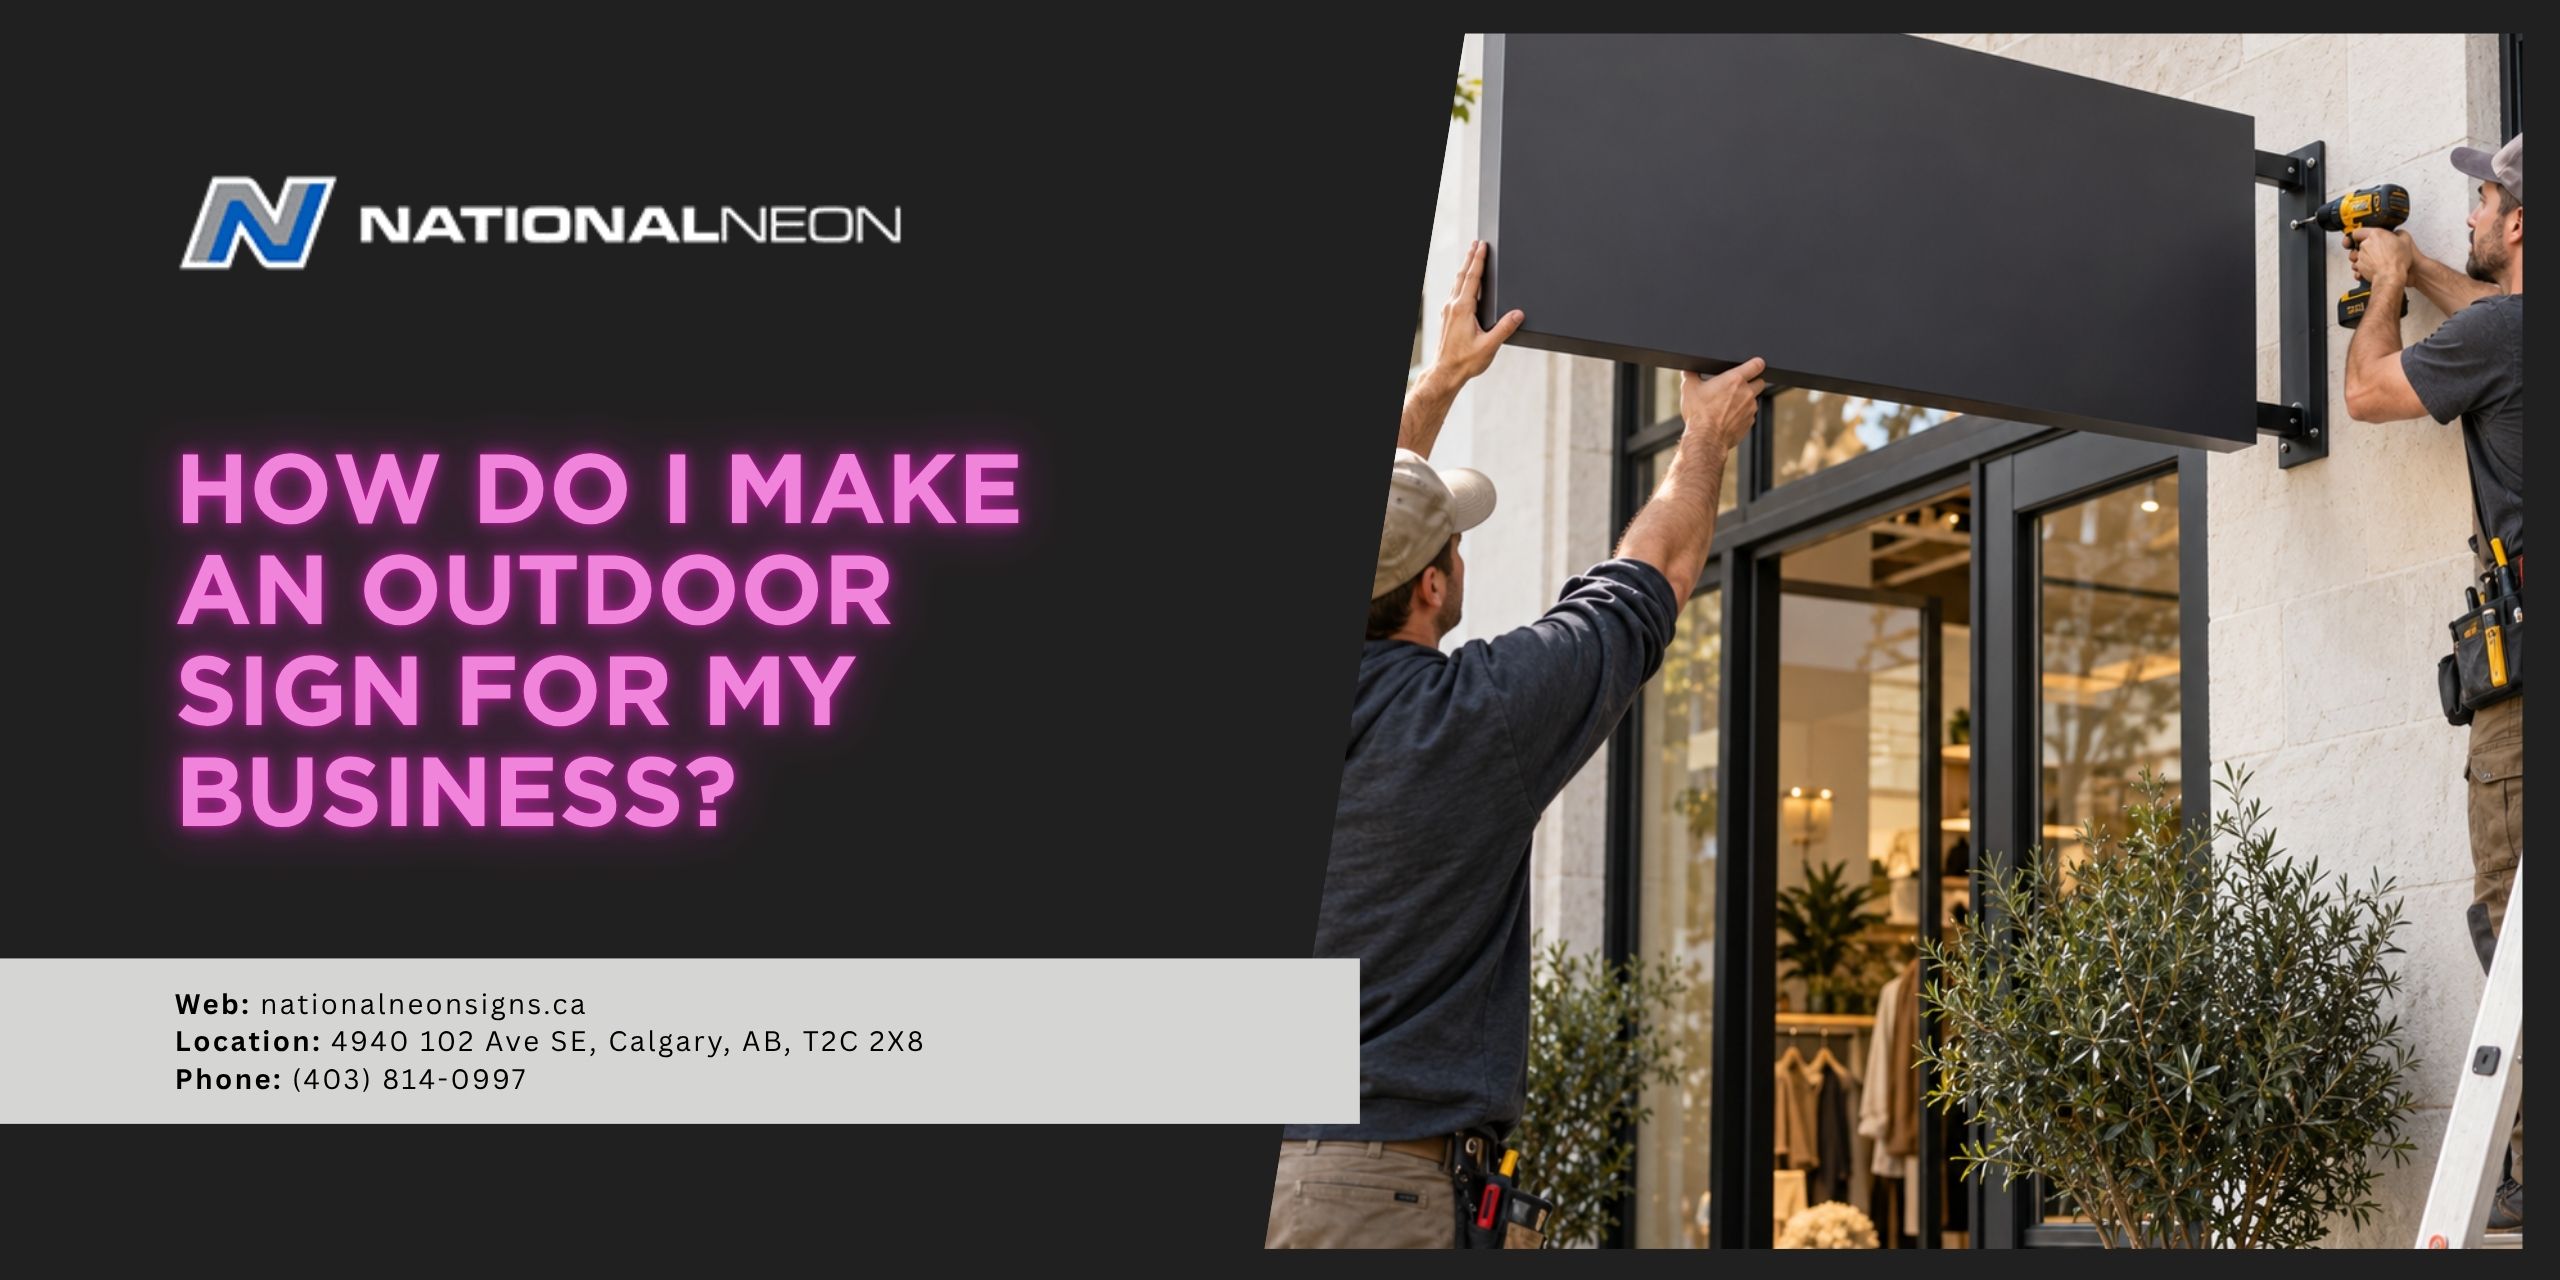
Once your design gets approved, it’s time to build. The process involves cutting and assembling materials, adding graphics and installing lighting and electrical components. The next step is mounting the sign securely into place and for illuminated signs, completing and testing the electrical connections.
Can I Make an Outdoor Sign Myself?
If you’re planning to build a simple sign like a painted board or vinyl lettering, a DIY project might be an option. However, you have to keep a few things in mind. It’s important that the sign holds up to the weather, is securely mounted into place and gets approval from your municipality. Plus, some signs might need electrical work. For a commercial sign you’re counting on year after year, working with a professional sign company takes care of these details.
Ready to Get Your Sign Started?
When you need an outdoor sign for your business, you don’t have to figure it out on your own. Turn to the team at National Neon Signs. We walk you through everything from the first design concept through fabrication and installation.
Ready to get started? Contact us to talk about your sign today.
