

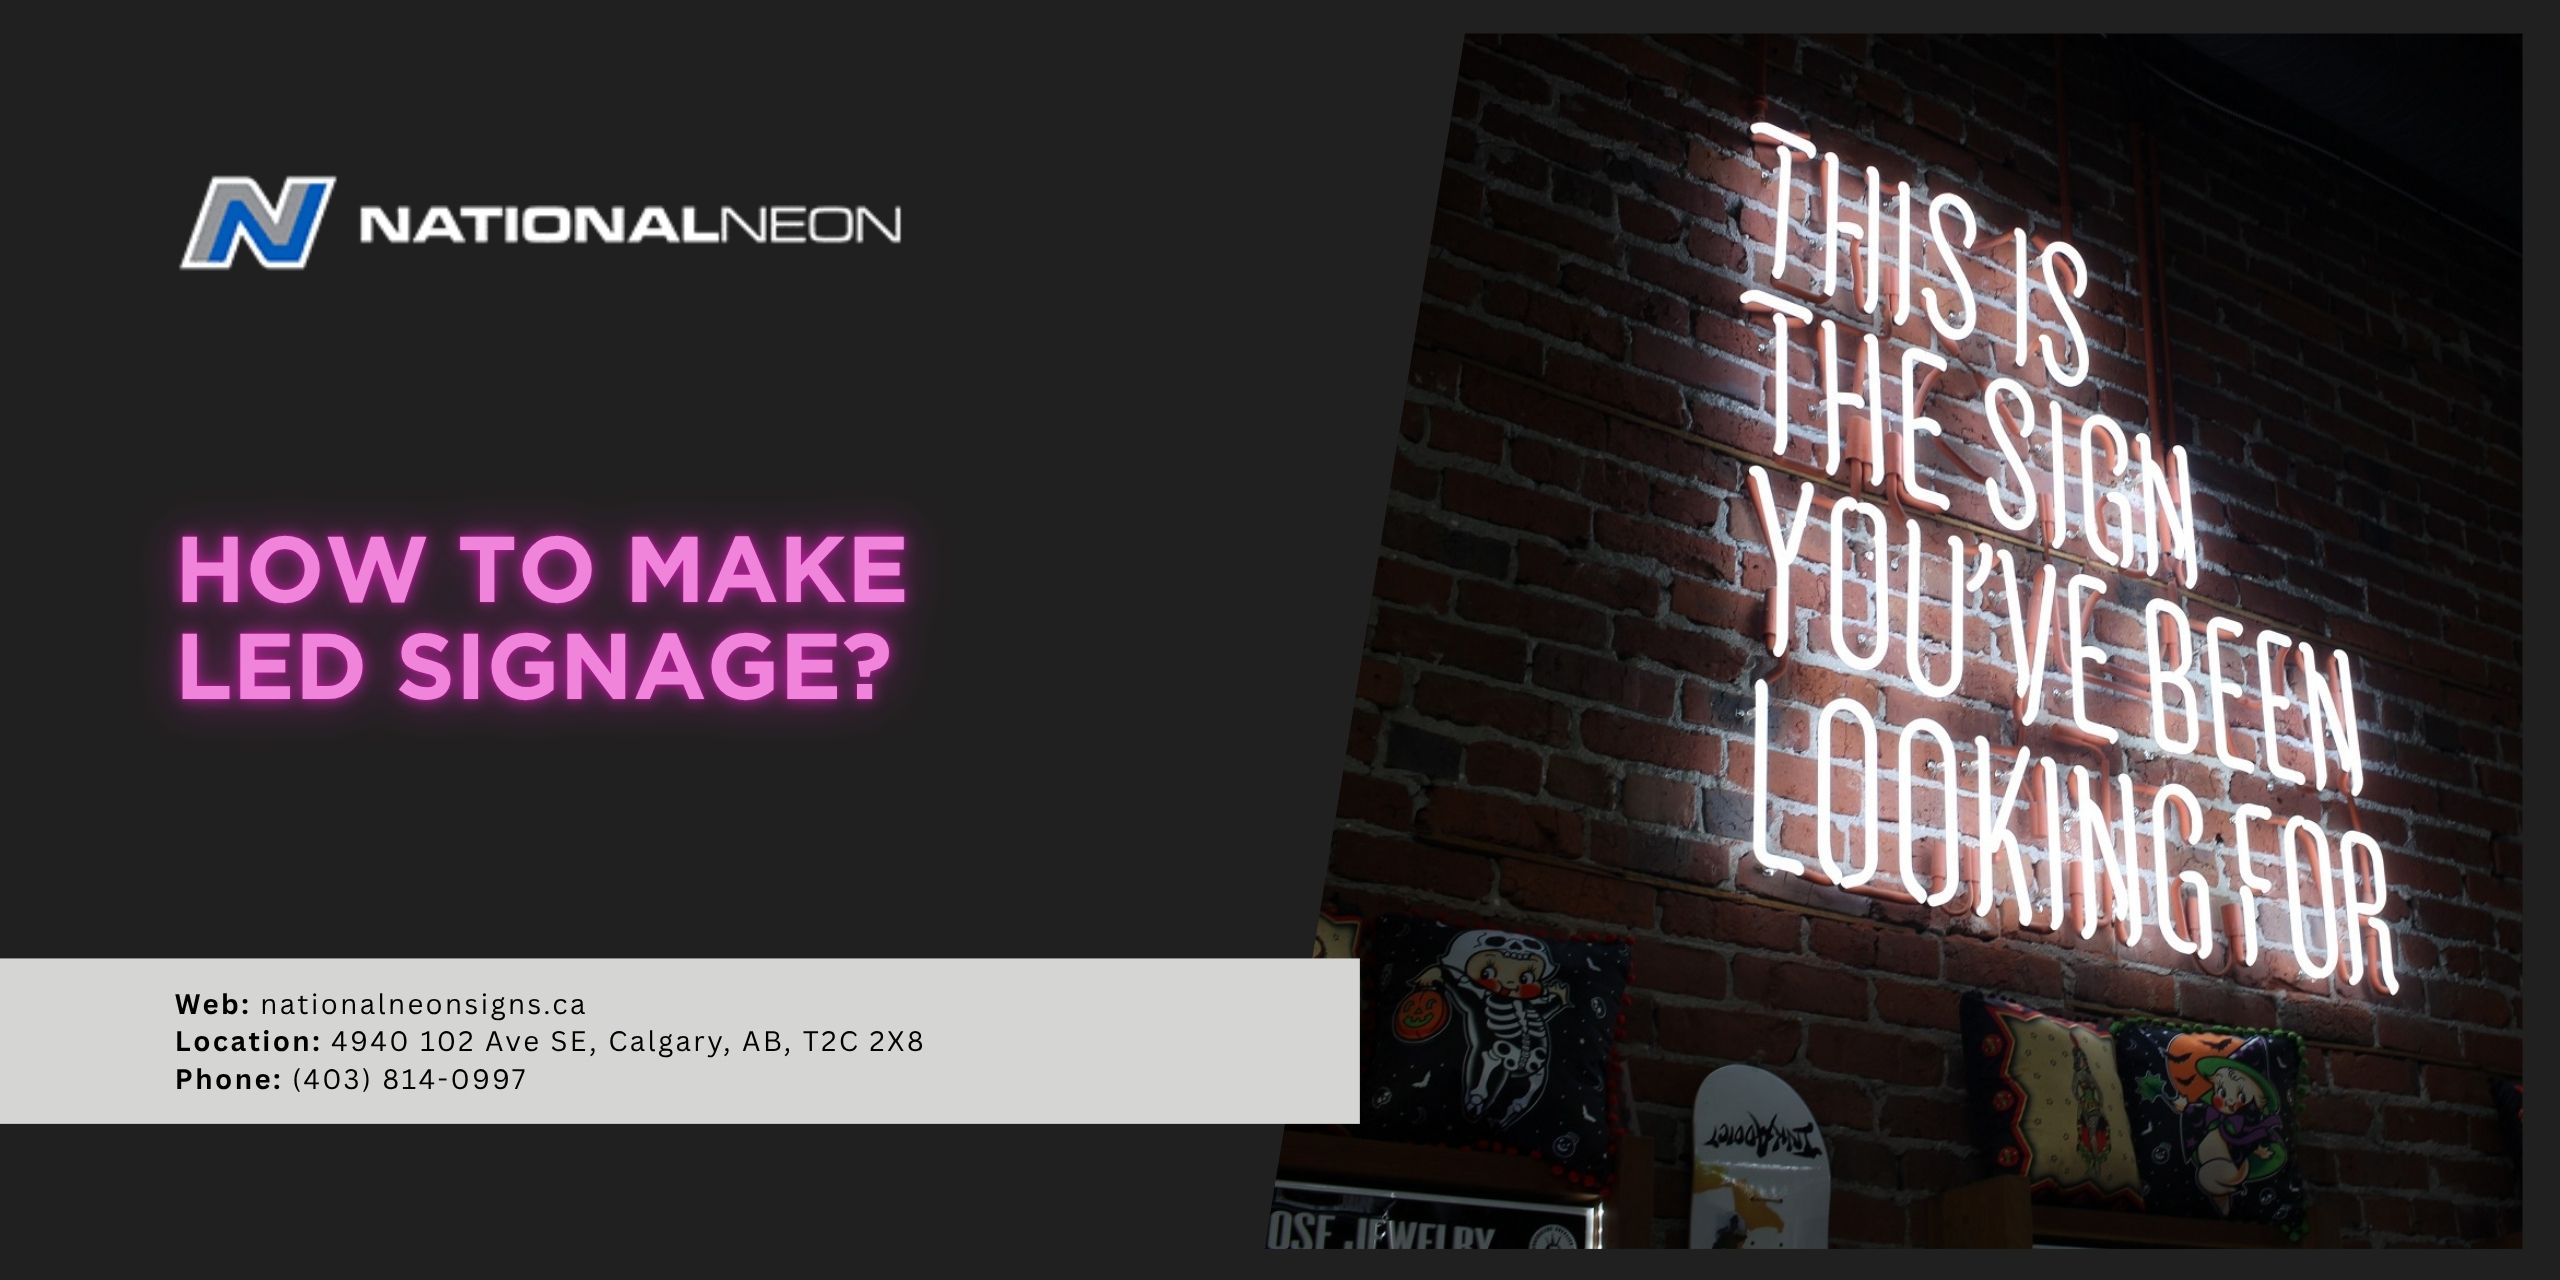
LED signs are everywhere, from restaurant storefronts to retail displays, and even home decor.,Their bright illumination, low energy consumption, and customizable designs have quickly made them one of the most popular signage solutions available today.
So, how do you make LED signage?,Understanding the process is a great place to start.,In this guide, we’ll walk you through the basic steps involved in creating an LED sign.,
What is an LED sign?
An LED sign is a type of illuminated signage that uses light-emitting diodes (LEDs) to display text, graphics, or logos.,These signs are popular for business storefronts and displays because they remain highly visible both day and night, making them an effective way to attract attention.
An LED sign is typically made up of a few core components, including the LED lighting itself, a power supply, a backing material (such as acrylic or PVC), and wiring to connect it all together.,Mounting hardware is used to securely install the finished sign in place.,
How to make LED signage?
To create LED signage, you’ll need to design a layout, prepare the backing, install and wire the LED components, and connect them to a power source.,Once everything is tested and functioning properly, the sign can be finished and mounted in its desired location.,While the exact process may vary depending on the size and complexity of the sign, the basic steps remain the same.,
Let’s take a look at these steps in a bit more detail:
1. Design Your Sign
Your first step is deciding what your sign will look like, which might include a company logo, business name, motivational quote, or other custom graphic.,You can create your design using graphic design software or sketch it by hand.,Keep in mind that simpler designs are generally easier to build, especially for beginners.
Once you’re happy with the design, print it to scale or transfer it directly onto your backing material so you’re ready for the next step.
2. Prepare the Backing
Cut the backing to the desired dimensions and clean the surface thoroughly.,If necessary, paint or finish the backing before installing the LEDs.,Mark the locations where the lighting will be mounted, using your design template as a guide.
3. Install the LEDs
LED strips are the most common choice for DIY signage because they are flexible, easy to work with, and can be cut to size for different designs.,Most LED strips also come with an adhesive backing which makes them simple to apply directly onto a prepared surface.,However, other options, like LED modules or LED neon flex tubing are also available, depending on the look you want to achieve.
Carefully follow your design outline and attach the LED strips to the backing.,For complex shapes, make gradual bends rather than sharp angles to avoid damaging the strips.,If using LED modules, secure each module individually according to the manufacturer’s instructions.,
Check that all lighting elements are positioned evenly to create consistent brightness across the sign.,
4. Wire the Components
Once the LEDs are installed, connect them to the power supply.,Follow any instructions provided with your LED products and ensure the voltage ratings match.,If your sign has multiple sections, you may need to link them together using connectors or soldered joints so the power flows evenly throughout the design.,
For signs that use colour-changing LEDs, an RGB controller can be added to customize colours, brightness levels, and lighting effects.,
5. Test the Sign
Before final assembly, power on the sign and test every section.,Check for dim areas, flickering lights, or any sections that are not working as expected.,This is the best time to make any adjustments, before the sign has been permanently mounted or enclosed.
6. Finalize the Build
Once everything is working correctly, secure all components in place and tidy up the internal layout.,This step might include adding protective covers, internal panels, or finishing details to complete the structure.,The goal here is to turn a working setup into a finished product.
7. Mount the Sign
The final step is installation.,Depending on the design and location, this could include wall mounting, adding a frame, or installing stand-off hardware.,Make sure the sign is securely supported and positioned for maximum visibility.,
If you’re handy with tools and electronics and looking for a smaller project, creating your own LED sign can be a fun and rewarding challenge.,However, most businesses choose to work with an experienced sign company when designing and installing LED signage.,Professional sign companies can help ensure the sign is built to last, complies with local regulations, and is installed safely for maximum visibility and impact.
For more information on creating your LED sign, contact us today at National Neon Signs!
