

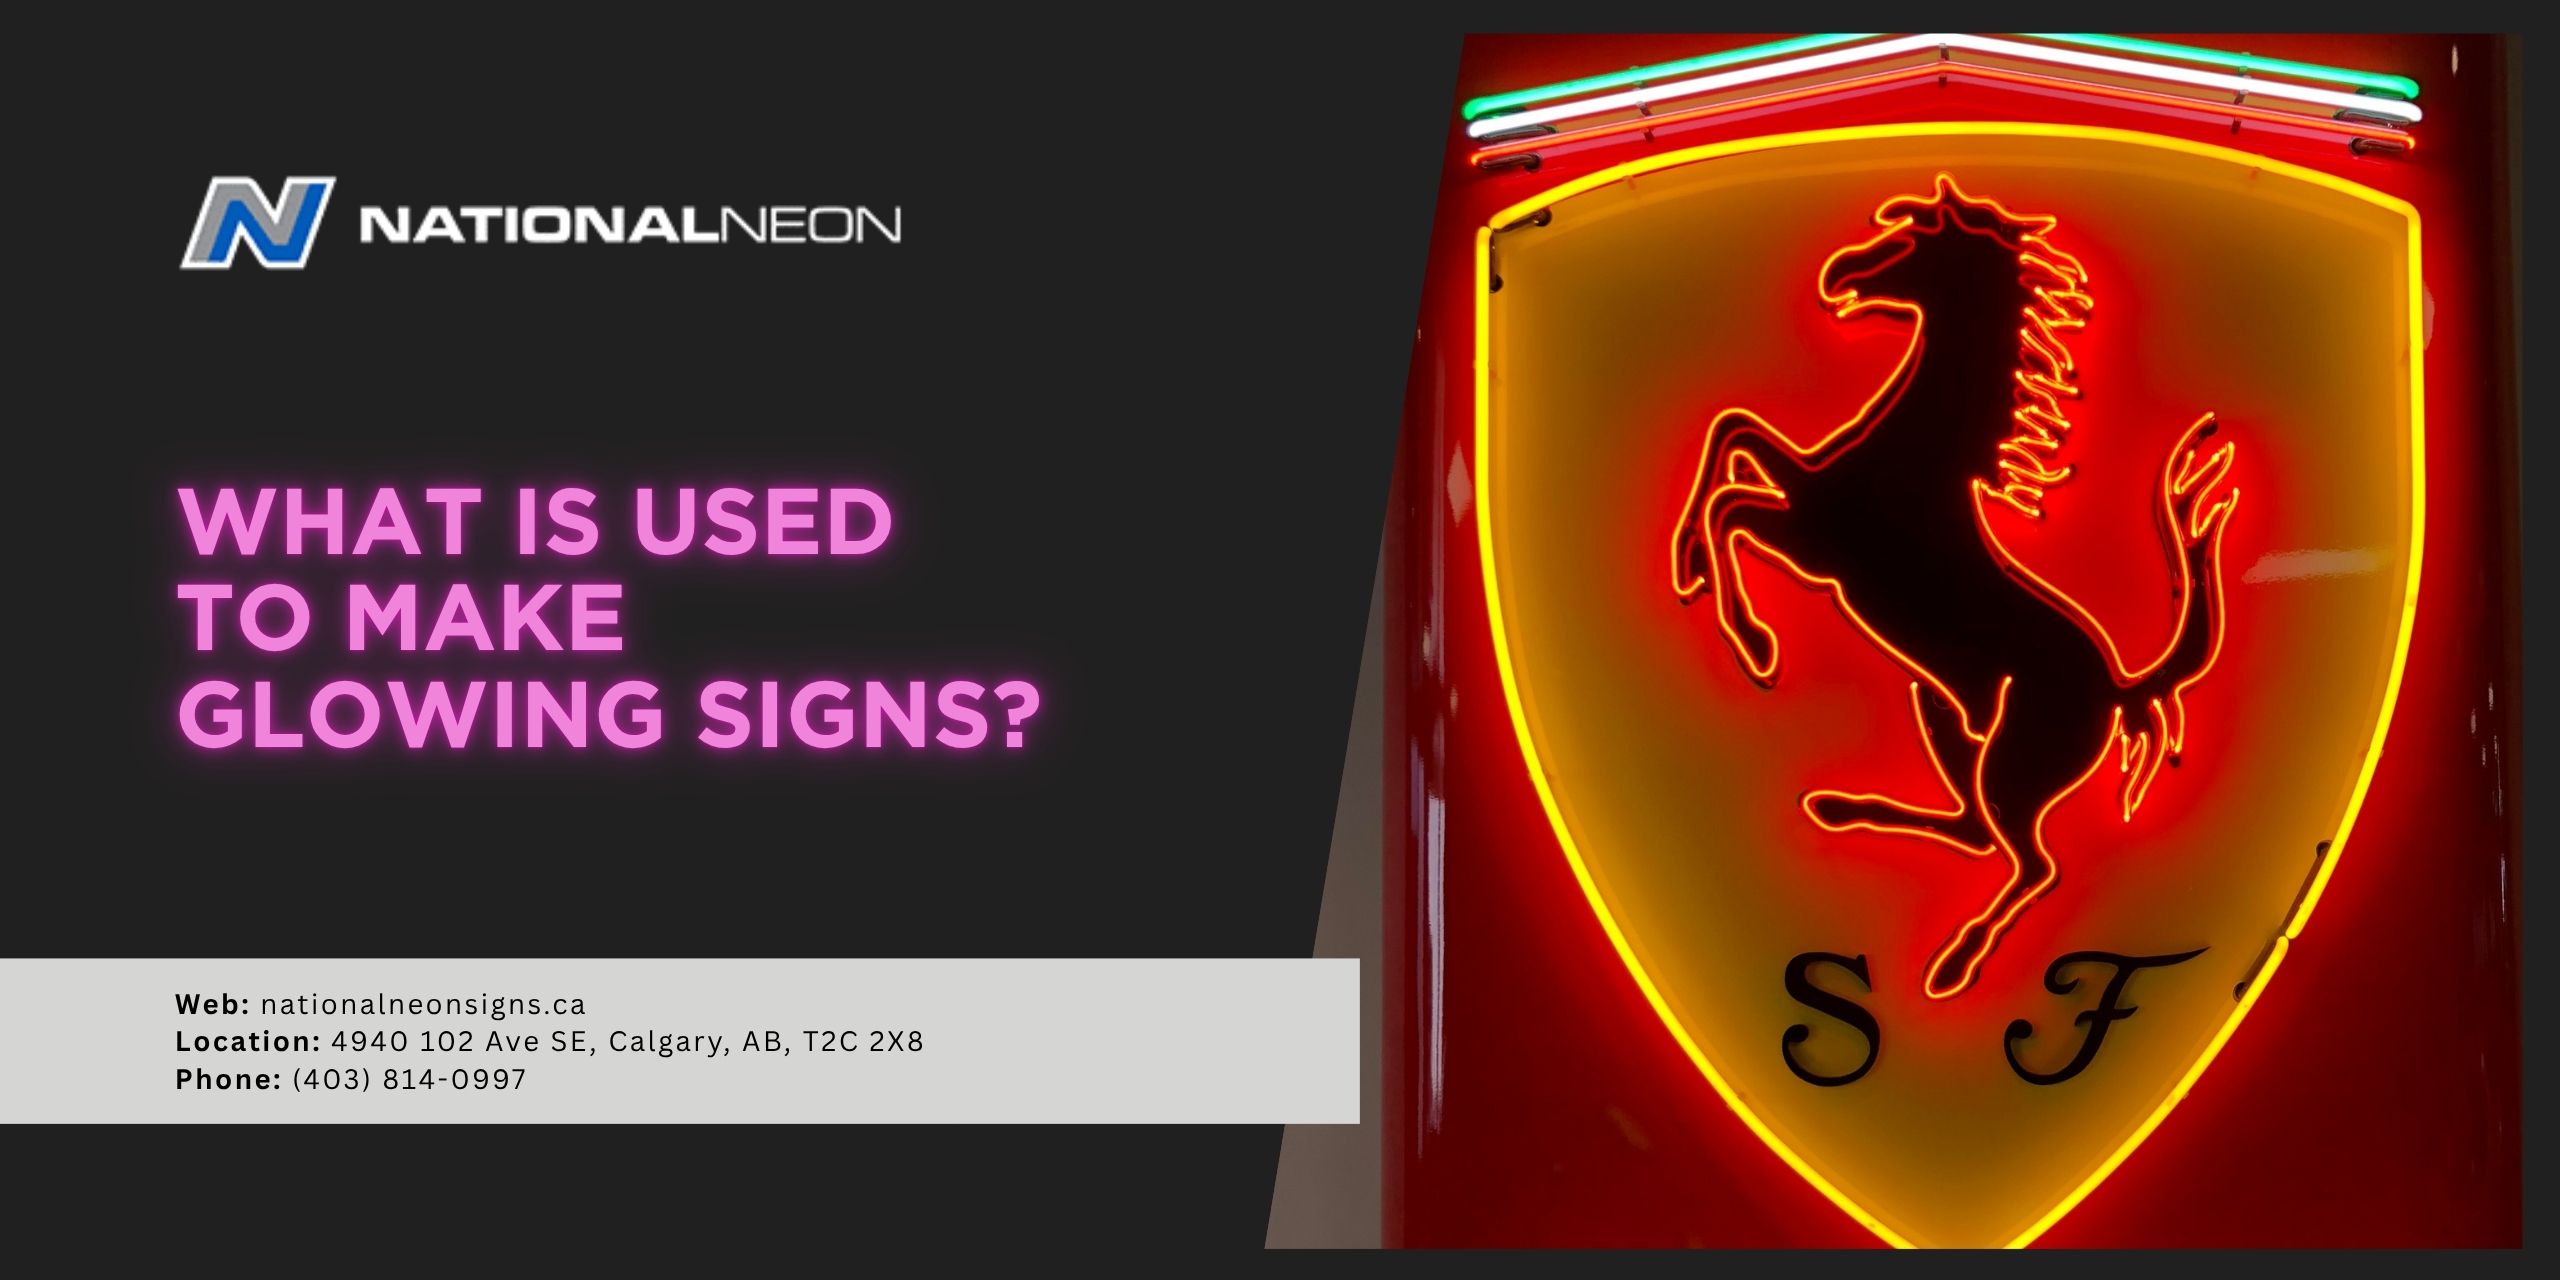
Glowing signs are a familiar sight on many storefronts, but most people don’t actually stop to think about what goes into making them. Behind every bright, eye-catching display is a combination of materials and technology, working together to create that signature glow.
In this guide, we’ll take a look at what materials are used to make a glowing sign and how they are designed.
What is used to make glowing signs?
Modern illuminated signs are typically made from a combination of LED lighting, acrylic materials, electrical wiring, mounting hardware, and a power supply. Together, these components form a bright, glowing sign that can be shaped into almost any design.
Let’s take a look at each of these components in more detail:
LED Lighting
The most important component of a glowing sign is the light source itself. Today, most illuminated signs use LED lighting because it’s both durable and energy-efficient, and more practical than alternatives like neon lighting. Depending on the design and desired look, LEDs might be installed as flexible LED strips, individual light modules, or LED neon flex tubing.
While LEDs may be the new standard, traditional neon signs (made with glass tubes filled with gas) are still sometimes used for their classic glow and nostalgic appeal.
Backing Material
The backing serves as the foundation for your sign, and many glowing signs are mounted on acrylic sheets. Acrylic is a lightweight, durable plastic that provides a sturdy base for the sign’s lighting components. It’s usually cut using laser-cutting equipment to achieve precise shapes and clean edges that match the overall shape of the sign.
Other backing materials include wood for a warm, rustic style, aluminum for a strong, sturdy structure, or PVC board for an affordable, indoor display.
Wiring and Connectors
Wiring and connectors are essential components that allow electricity to flow through an illuminated sign. The wiring carries electricity from the power supply to the LEDs, while connectors create secure links between different sections of the lighting system. Depending on the design, these connections may be made using plug-in connectors, terminal blocks, or soldered joints.
Power Supply
The power supply provides the electricity needed to operate a glowing sign. Most LED signs use a DC power adapter or LED driver to convert household AC electricity into the lower-voltage DC power required. The power supply must be properly matched to the sign’s voltage and wattage requirements to ensure safe, reliable operation. Choosing the correct power supply helps maximize energy efficiency and extend the lifespan of the lighting.
Diffusers and Face Materials
Diffusers and face materials help control how light appears on the surface of an illuminated sign. A diffuser is a translucent layer that spreads light evenly, reducing harsh hotspots and creating a smooth, consistent glow. In many LED signs, materials such as frosted acrylic or polycarbonate are used as both the sign face and diffuser. These materials allow light to pass through while softening its intensity, improving readability and giving the sign a clean, professional appearance.
Mounting Hardware
Mounting hardware is what secures a glowing sign safely in place once it’s built. This might include screws, wall anchors, standoffs, brackets, hanging chains, or cables. For larger storefront signs, especially outdoor installations, professional installers often use specialized equipment such as lifts, scaffolding, or heavy-duty mounting systems to ensure the sign is safely and securely attached to the wall.
How are glowing signs designed?
Glowing signs are typically created using professional graphic software, rather than being fully drawn by hand. Designers work in vector-based programs like Adobe Illustrator or CorelDRAW to build precise layouts, clean lettering, and scalable graphics that can be used for fabrication.
That said, the design process often starts in a much simpler way:
- Hand Sketches (Early Stage): Many designers or DIY sign makers begin with a rough sketch to explore ideas, layouts, and lettering.
- Digital Design (Final Stage): The sketch is then recreated in graphic software so it can be refined and scaled for production. Digital files can be sent directly to cutting machines, printers, or fabrication tools, which is essential for professional sign-making.
Ready to design your own glowing sign? Contact us at National Neon Signs for more information.
